
10 月 . 31, 2024 15:40 Back to list
Guide to Installing Thrust Ball Bearings Effectively and Efficiently in Your Machinery
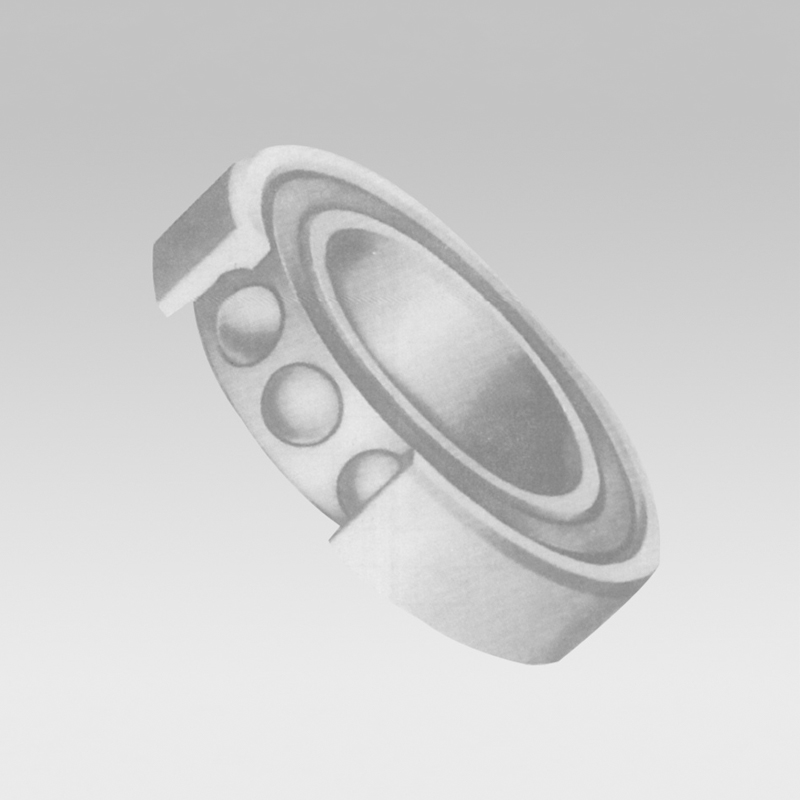
Thrust Ball Bearing Installation
Thrust ball bearings are crucial components used in various machinery and equipment, designed to accommodate axial loads and provide smooth rotational motion. Proper installation of these bearings is paramount to ensuring optimal performance and longevity. This article outlines the steps and considerations involved in the installation of thrust ball bearings.
Understanding Thrust Ball Bearings
Thrust ball bearings consist of two rings, a ball assembly, and a cage that holds the balls in place. They are specifically engineered to handle axial loads in one direction, making them ideal for applications such as automotive components, industrial machinery, and rotating equipment. When selecting a thrust ball bearing, it is essential to consider factors such as load rating, speed, and operating conditions.
Tools and Materials Required
Before installation, gather the necessary tools and materials - Thrust ball bearing - Appropriate housing and shaft - Bearing grease or oil - Torque wrench - Clean cloth - Caliper or micrometer for measurements - Safety gloves and goggles
Preparation for Installation
1. Clean the Components Ensure that both the bearing and the housing where it will be installed are free of dirt, dust, and debris. This can be achieved by wiping the surfaces with a clean cloth. Contaminants can significantly affect the performance and lifespan of the bearing.
2. Inspect for Damage Check the bearing for any signs of damage, such as indentations, rough spots, or corrosion. If any defects are present, the bearing should not be used, as this can lead to premature failure.
3. Measure the Fit Use calipers or micrometers to measure the housing and shaft dimensions. It is critical to ensure that the bearing fits snugly within the housing and onto the shaft. A loose fit can result in misalignment and excessive wear.
thrust ball bearing installation
Installation Steps
1. Mount the Bearing Position the thrust ball bearing onto the shaft. If the bearing has a specific orientation, ensure that it is installed in the correct direction, typically indicated by markings on the bearing itself.
2. Align the Components Carefully align the housing over the bearing. It is important to avoid any tilting or misalignment during this process, as this can cause damage.
3. Apply Grease Generously apply bearing grease or oil to the thrust ball bearing to facilitate smooth operation. Ensure that it is distributed evenly to all moving parts, reducing friction and wear.
4. Secure the Assembly Use a torque wrench to tighten any retaining rings or fasteners to the manufacturer’s specified torque settings. This step ensures that the bearing is securely held in place, minimizing vibration and movement.
Final Checks
Once the bearing is installed, perform a final inspection to ensure everything is correctly aligned and secured. Rotate the assembly by hand to confirm smooth operation, free of noise or resistance. If any issues arise, disassemble and recheck the installation.
Conclusion
Proper installation of thrust ball bearings is vital to maintaining the functionality and reliability of mechanical systems. By following these detailed steps and ensuring proper care, users can achieve optimal performance and longevity from their thrust ball bearings, minimizing downtime and maintenance costs. Whether for industrial applications or automotive use, a well-installed thrust ball bearing can significantly enhance operational efficiency.
Latest news
-
Unlocking Efficiency with Spherical Roller Bearings
NewsOct.29,2024
-
The Ultimate Guide to Thrust Ball Bearings
NewsOct.29,2024
-
The Power of Thrust Roller Bearings: Engineered for Excellence
NewsOct.29,2024
-
The Power of Deep Groove Ball Bearings for Your Application Needs!
NewsOct.29,2024
-
The Power and Performance of Cylindrical Roller Bearings
NewsOct.29,2024
-
High-Quality Ball Bearing Manufacturing Machines
NewsOct.29,2024